Bike lights: how bright is bright enough, and what actually matters when you ride after dark
How to choose bike lights for your roads: lumens for lit and unlit routes, front vs rear, flashing vs steady, batteries and beam aim.
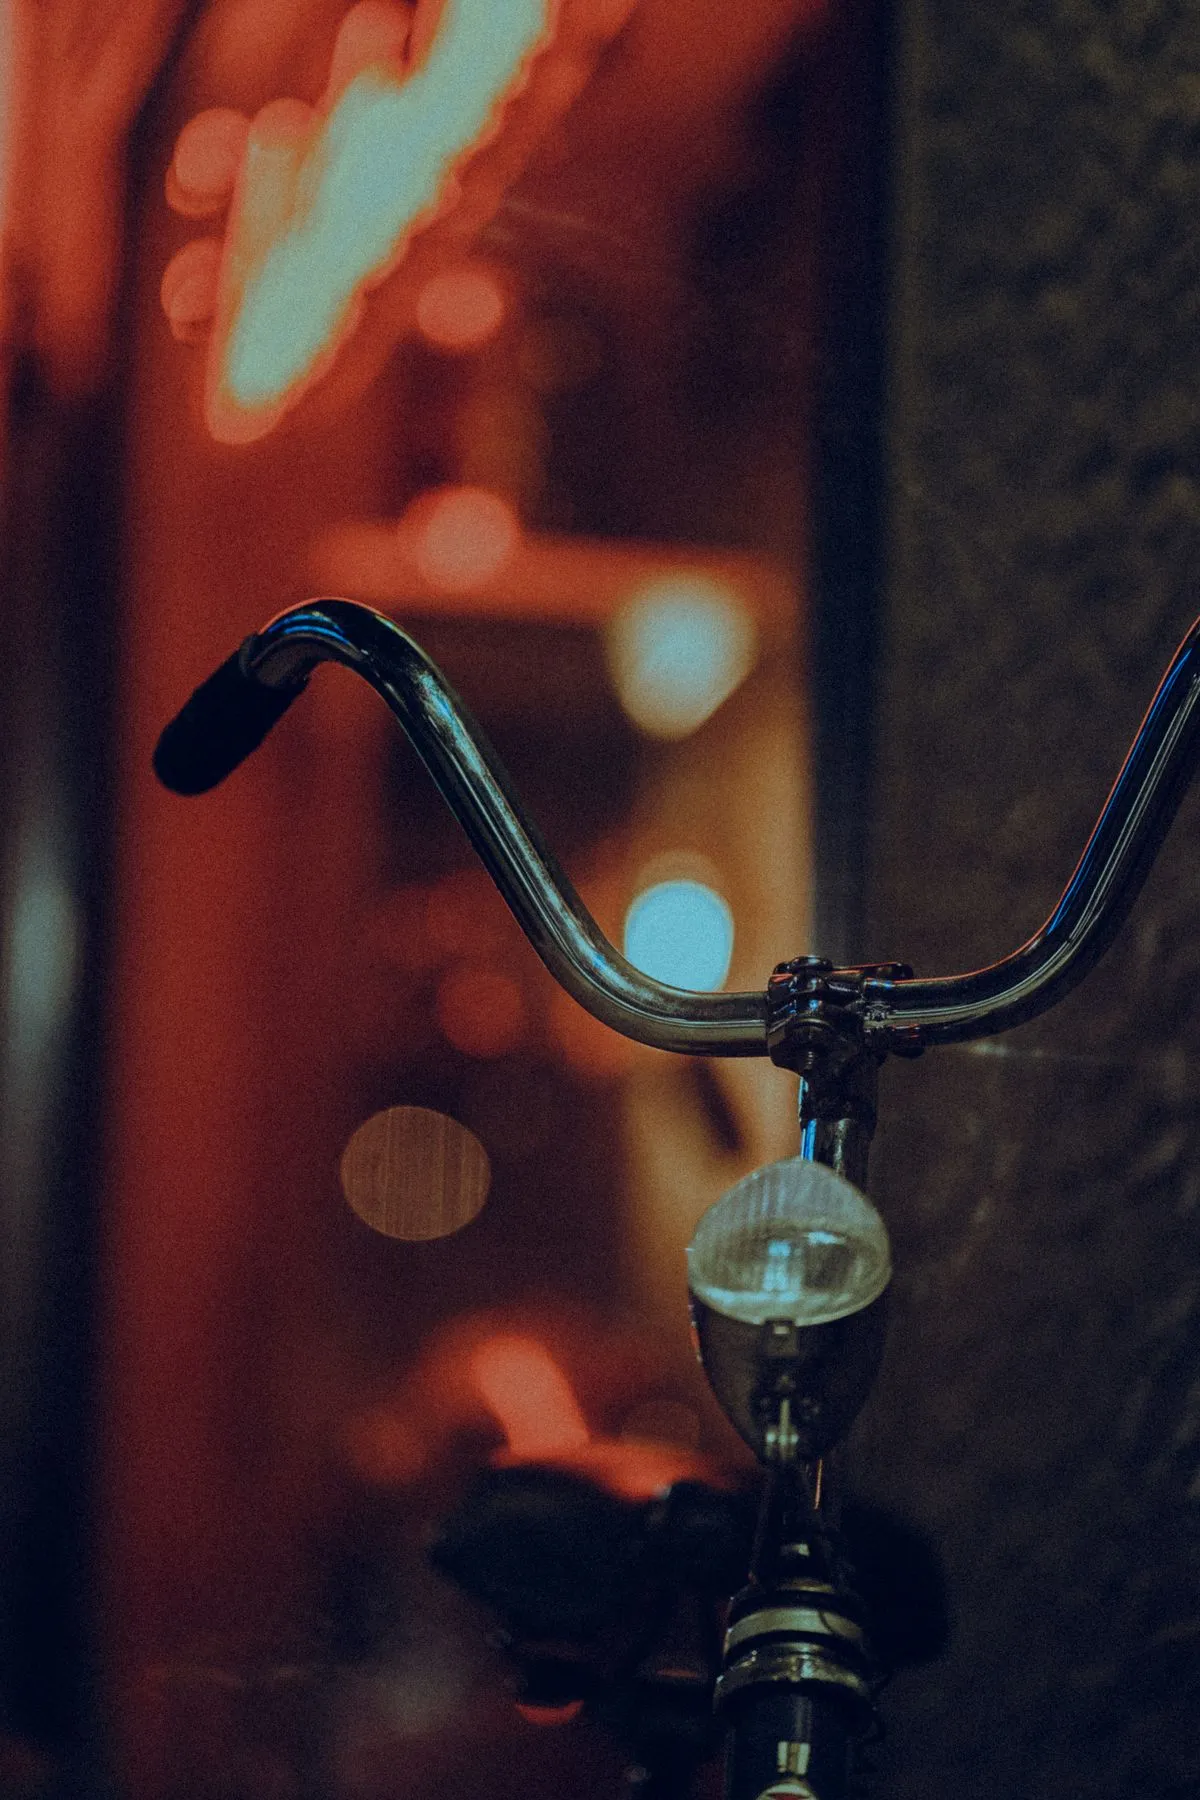
When the evenings draw in, a set of bike lights stops being an accessory and becomes the difference between riding home and walking. But shopping for them is oddly confusing: the same shelf holds a coin-cell blinker and a 1,000-lumen headlamp, both called “bike lights”, and the wrong one for your roads is money wasted.
The way through is to start with where you ride, not with the biggest number on the box. This guide works through the two jobs lights do, how many lumens suit each kind of road, front and rear differences, flashing versus steady beams, and the battery and mounting details that decide whether your lights are on the bike when you need them.
Two jobs: seeing and being seen
Every bike light does one of two jobs, and the best setup covers both. The first is being seen: making you visible to drivers, pedestrians and other riders. The second is seeing: lighting the road ahead well enough to spot potholes, junctions and debris in time to react. MEC’s lighting guide puts it simply - a white light up front and a red one at the back cover being seen at night and in low light, and how much light you need beyond that depends on where you ride.
That distinction is why “how many lumens do I need?” has no single answer. A light that’s plenty for a lit city street can leave you squinting into darkness on an unlit road, and a light built for dark trails will dazzle everyone you meet in town.
How many lumens for your roads
Lumens measure total light output - bigger number, brighter light. Both Cycling UK and MEC frame the choice by environment:
Street-lit town riding. Under streetlights you can already see the road, so your lights are mainly about being noticed. Cycling UK notes that flashing or pulsing modes work well here, because other road users can track you by the street lighting while the flash catches their eye - and that wide side visibility matters at junctions. MEC suggests that for regular commuting, a headlight around 60 to 150 lumens is good, and that a small coin-cell safety light of about 10 lumens is a fine backup for unplanned after-dark rides.
Unlit roads. Once the streetlights stop, your front light has to do the seeing. Cycling UK advises a beam powerful enough to light the road further ahead than your stopping distance, and suggests a road-specific light with a focused beam around 300 to 500 lumens - with a warning not to just fit the brightest mountain-bike light you can find, because you’ll dazzle oncoming traffic. For the rear on faster, darker roads, they suggest 30 to 50 lumens or more.
Off-road and trails. Night trail riding is the lumen-hungry case. MEC suggests a bright, focused headlight of 150 lumens or more for trail use, while Cycling UK’s rule of thumb for proper night mountain biking is at least 800 lumens from a main light with a broad beam for peripheral vision - optionally backed by a second, tighter-spot light on your helmet. The guides disagree here, and the honest reading is that context decides: MEC frames 150 lumens as a floor for trail use, Cycling UK’s 800-lumen rule targets proper night mountain biking, and beam shape plus riding speed change what any lumen count feels like. For fast, technical night trails, plan for the higher end rather than treating 150 lumens as enough.
Notice the shape of that advice: the light you need scales with how dark and how fast your roads are, not with your budget or your enthusiasm.
Are more lumens always better?
No - and not just because of battery life. A beam that’s right for a dark trail is wrong for a lit street, where it dazzles the very people you want to notice you. Cycling UK explicitly warns against fitting a powerful mountain-biking light for road use, and suggests looking instead for a beam cut-off at the top of the lens or a quick way to switch to a lower output - in effect, a dipped-headlight mode for traffic. The useful question isn’t “how bright can I get?” but “how bright is useful here, and can I dim it when it isn’t?”
Front and rear are different products
Front lights are white, brighter, and shaped to throw a beam forward onto the road. Rear lights are red, smaller, and built to be seen from behind over a long distance. You need both. A common and sensible pattern is a solid front light matched to your roads plus a compact rear flasher - and if you ride dark roads, Cycling UK advises against a flashing-only rear light, because a flash doesn’t show a driver your trajectory or distance the way a steady light does. Run a steady rear, or a steady and a flashing one together.
Flashing or steady
Flashing modes are attention-grabbing and stretch battery life; steady modes help others judge where you are and where you’re heading. The practical compromise many riders land on matches the guidance above: flash for lit streets and daytime visibility, steady for unlit roads - and never a flashing-only setup in true darkness. Some lights offer a pulse pattern that keeps a low steady level under the flash, which covers both jobs at once.
One courtesy that’s now close to a rule: if your light is bright - MEC points out that around 700 lumens is roughly car-headlight territory - angle the beam slightly downward so it lights the road, not the eyes of the rider or driver in front of you. Some road lights build a cut-off into the top of the lens for the same reason, and some let you dip the output with a quick button press.
One light or two?
For anything beyond a lit commute, redundancy is cheap insurance: a main front light plus a small backup in your bag covers a forgotten charge or a mid-ride failure. MEC makes the same point from the visibility side - several lights in different positions (handlebars, helmet, bag, arm) raise the chance that a driver approaching from any angle sees you. Two modest lights can beat one big one that’s in the wrong place or unexpectedly flat.
Batteries: rechargeable, coin cell or dynamo
USB-rechargeable lights are the default now: plug them in at your desk and they’re ready for the ride home. Coin-cell blinkers are cheap, light, and live happily at the bottom of a bag as a backup - MEC’s suggestion for the unplanned late ride. Dynamo lights run off the wheel, so there is no battery to remember to charge - though any light can still fail or be switched off, so check it works before you set off. Cycling UK flags one practical detail for town riding: look for a standlight feature, which keeps the light on when you’re stopped at a junction.
Whatever the power source, the habit that matters is the same: charge or check the lights before the week starts, not when you’re standing in the dark. It pairs well with the weekly bike check.
Mounting and everyday practicalities
Most lights strap or clip to handlebars and seatpost in seconds. A few things worth checking, especially if you commute daily:
Keep the beam level and the mount tight - a front light that sags or rattles loose mid-ride is worse than useless. If you remove lights when you park (you should, in many places), pick mounts you can work with cold fingers. Think about side visibility at junctions: Cycling UK recommends lights visible through a wide arc, and MEC suggests adding a second light or wearing one on your arm or bag so you’re visible to traffic approaching from the side. And make sure the rear light isn’t hidden behind a saddlebag, coat tail or mudguard flap.
What the law says
Lighting rules vary by country and sometimes by city. In the UK, for example, Cycling UK notes that riding on the road between sunset and sunrise legally requires an approved white front light and red rear light, plus a red rear reflector and amber pedal reflectors. Other countries set their own requirements. Wherever you ride, check the current rules for your area - and treat them as a floor, not a target. The right light for an unlit road earns its keep whether or not anyone checks.
The bottom line
Buy for your roads: a modest flasher for lit streets, a focused 300-500 lumen front and a steady rear for dark routes, serious lumens only for trails. Keep a small backup light in your bag, recharge on a schedule, aim the beam at the road, and the nightly ride home becomes the easiest part of winter.
Sources
- Cycling UK, Knowhow: what lights do I need?: lumens by road type, flashing vs steady, UK legal requirements.
- MEC, How to choose bike lights: commuter and trail lumen guidance, backup lights.
- Cyclingnews, How bright should my bike lights be?
- Cover photo: Pexels, free Pexels licence.
Technical guidance checked on 5 November 2026. Lighting rules differ by country and change; check the current regulations where you ride.